How To Apply Your Wallpaper
Traditional Unpasted:

Download our printable instructions or conserve paper by following along online!
Step 1:
- Firstly, it is always recommended to hire a professional wallpaper installer. If you choose to install on your own, please see the following steps~
Step 2:
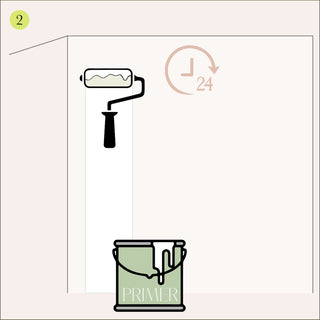
- We do not recommend installing wallpaper directly to drywall. Walls must be at least primed to ensure the wall is sealed before applying any type of wallpaper.
- Wallpapering over existing paint or primer is ok.
- If freshly priming, allow at least 24 hours to dry.
Step 3:
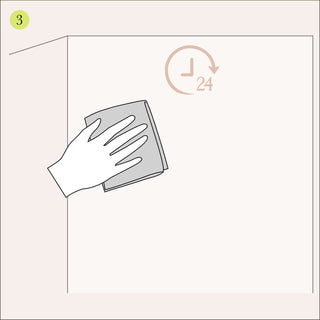
- Make sure your walls are clean and free of dust or grease.
- We recommend cleaning with a damp sponge or cloth first with warm water and mild dish soap, working from top to bottom, then again with just clean water
- Allow the wall to become bone dry over 24 hours before beginning application.
Step 4:
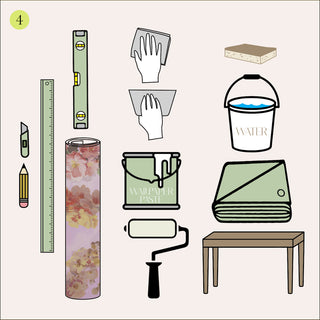
- Gather your tools and make sure all are clean: level, straight edge, pencil, wallpaper paste, brush or napped roller, wallpaper smoothing tool, drop cloth or tarp, utility knife, a bucket of clean water, sponge, dry cloth, a clean table/workspace, and of course your wallpaper rolls.
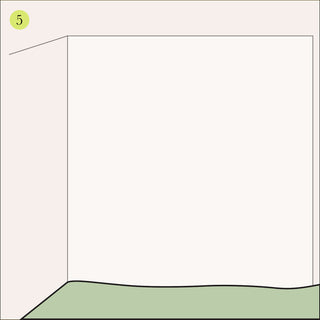
Step 5:
- Lay your drop cloth or tarp down to protect the floor from glue and water.
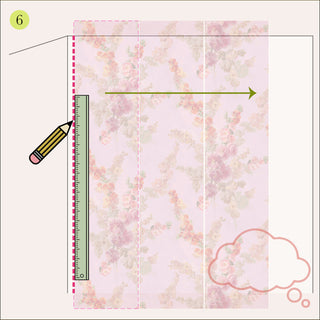
Step 6:
- Plan to start in a corner and work your way in 1 direction, moving either clockwise or counter-clockwise around the room.
- Use a level and straightedge to draw a vertical guideline for aligning the side edge of your 1st panel of wallpaper.
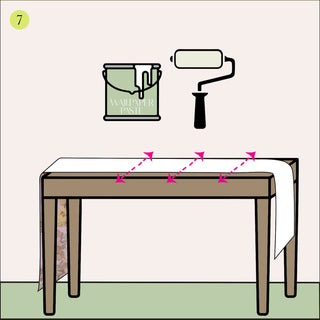
Step 7:
- Lay the first panel face down on your clean work table.
- Apply an even coat of the pre-mixed wallpaper paste to the entire back surface using your brush or napped roller.
- Apply from center towards the edges to avoid build-up.
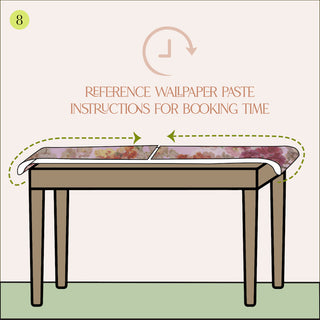
Step 8:
- Lightly fold the top and bottom of the panel over itself to meet in the center so all pasted areas are covered, taking care not to crease the paper.
- This is called “booking”- let it sit folded for amount of time recommended by wallpaper paste directions.
Step 9:
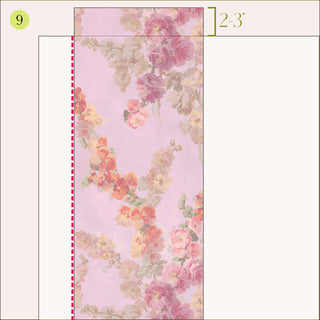
- Once the panel is booked, you can begin installing.
- Gently unfold the top half and align with your vertical guide.
- Overlap the top edge of the wallpaper 2-3” onto the ceiling to allow for uneven interiors.
Step 10:
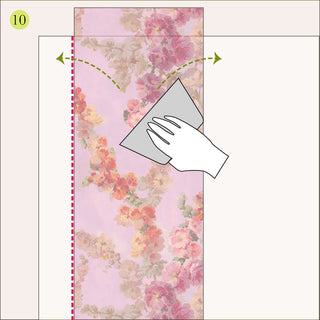
- Work your way from top to bottom, pushing out air bubbles from center out to side edges with your smoothing tool.
- Unfold the bottom half of your booked panel when necessary to continue to application to the bottom edge.
Step 11:
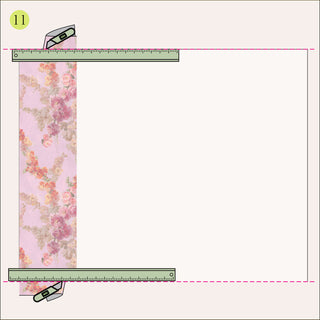
- Use a straightedge and a small utility knife to carefully cut away the excess at the bottom baseboards and at the ceiling
Step 12:
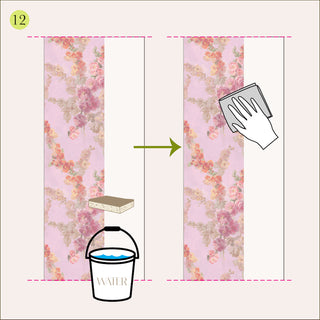
- Wipe away excess paste from the edges with clean water and a sponge wrung out.
- Gently dry with a clean cloth.
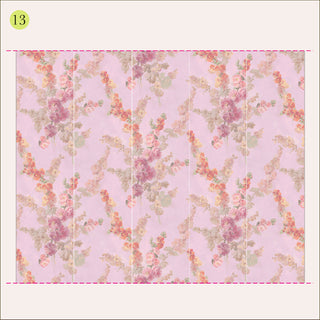
Step 13:
- Repeat steps 7 - 12 for the remainder of your panels, matching the pattern edge to edge.

Step 14:
- Enjoy!
Removeable Peel & Stick Fabric:
Download our printable instructions or conserve paper by following along online!
Step 1:
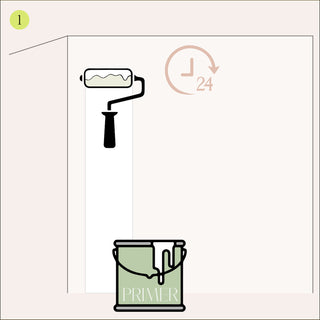
- We do not recommend installing wallpaper directly to drywall. Walls must be at least primed to ensure the wall is sealed before applying any type of wallpaper.
- Wallpapering over existing paint or primer is ok.
- If freshly priming, allow at least 24 hours to dry.
Step 2:
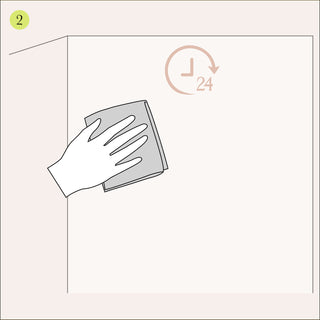
- Make sure your walls are clean and free of dust or grease.
- We recommend cleaning with a damp sponge or cloth first with warm water and mild dish soap, working from top to bottom, then again with just clean water
- Allow the wall to become bone dry over 24 hours before beginning application.
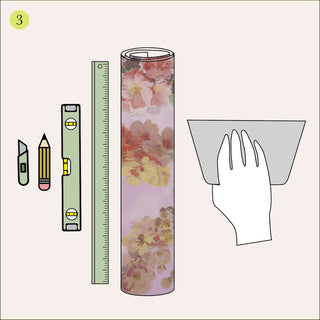
Step 3:
- Gather your tools and make sure all are clean: level, straight edge, pencil, wallpaper smoothing tool, utility knife, and of course your wallpaper rolls.
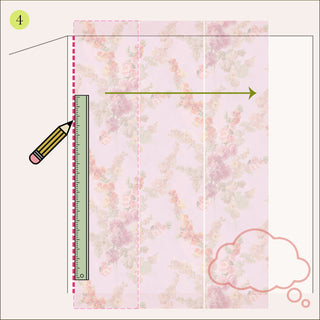
Step 4:
- Plan to start in a corner and work your way in 1 direction, moving either clockwise or counter-clockwise around the room.
- Use a level and straightedge to draw a vertical guideline for aligning the side edge of your 1st panel of wallpaper.
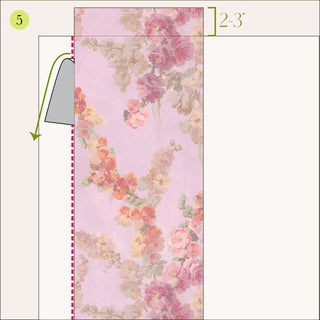
Step 5:
- Overlap the top edge of the wallpaper 2-3” onto the ceiling to allow for uneven interiors.
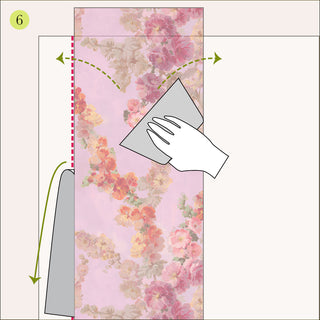
Step 6:
- Remove paper backing 8-10” at a time, from ceiling to floor.
- Use a smoothing tool to push out any air bubbles from the center out to the side edges as you work your way down.
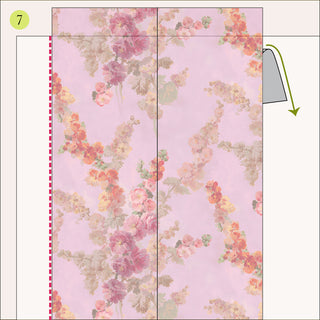
Step 7:
- Continue all the way down 1 panel and repeat with the next, matching the pattern edge to edge with no overlap.
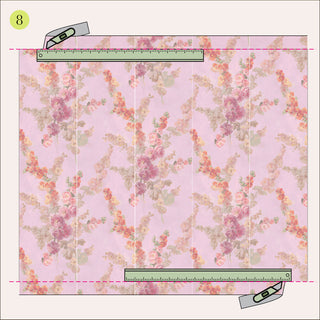
Step 8:
- After all wallpaper is placed to your liking, use a straightedge and a small utility knife to carefully cut away the excess at the bottom baseboards and at the ceiling.
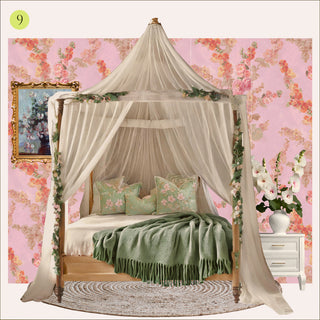
Step 9:
- Enjoy!

